At Bright Plugins, we are committed to improving and optimizing your experience with WordPress and WooCommerce. We know how important it is to have tools that facilitate the management and growth of your website and online store. That’s why we have developed a series of plugins to help you achieve your goals more efficiently. Want to know how to install one of our plugins on your WordPress site? It’s easier than you think! Follow these simple steps:
Install #
1. Login to your WordPress backend and go to your dashboard.
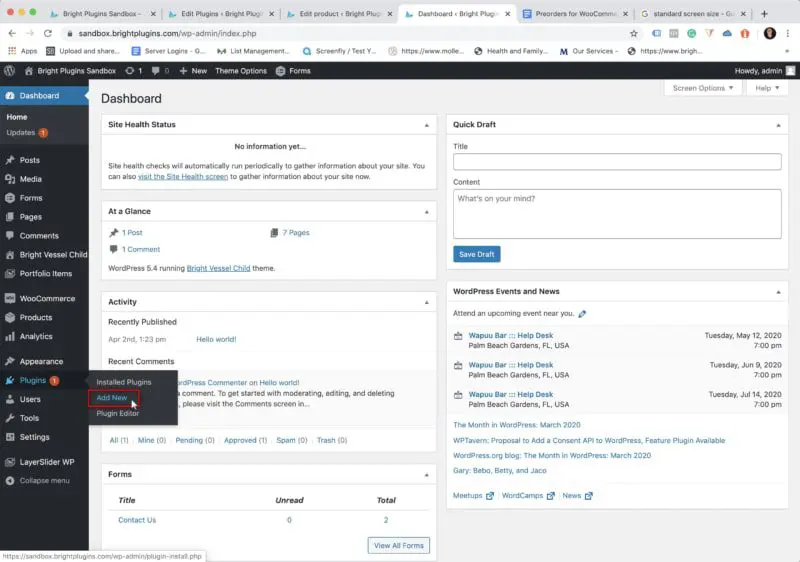
2. On the lefthand column, go to the “Plugin” tab, then click “Add New.”

3. Click the “Upload Plugin”.
4. Click on Upload Plugin and choose the .zip file you’ve just downloaded.

4. Click on “Choose File.”
5. A window will come up where you can choose the file you downloaded from your account and click the “Open” button.
6. Now you are ready to install the plugins by clicking the “Install Now” button.

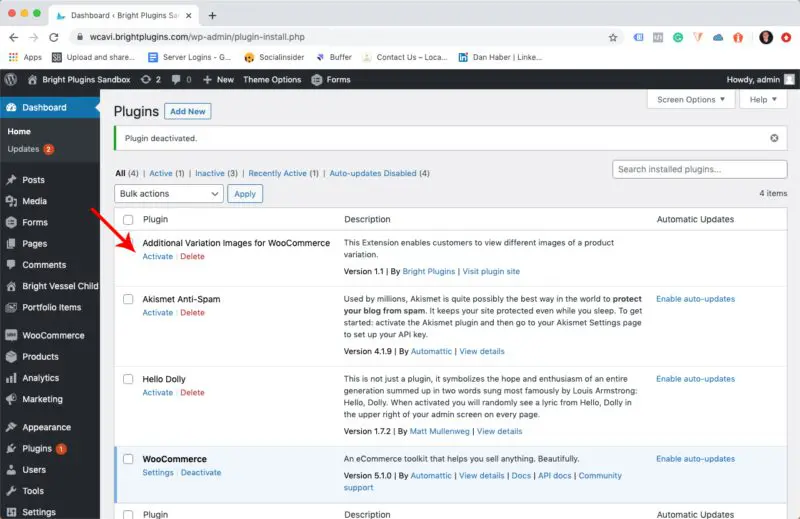
7. After you either installed, you will come to the window states, “Plugin installed successfully,” click the “Activate Plugin.”

Activate License #
Go to the left panel in your Dashboard. Under “Bright Plugins,” click on “Pre Orders Settings.” Once in Settings, go to the “Licence” tab, add your purchase code and click on save button.